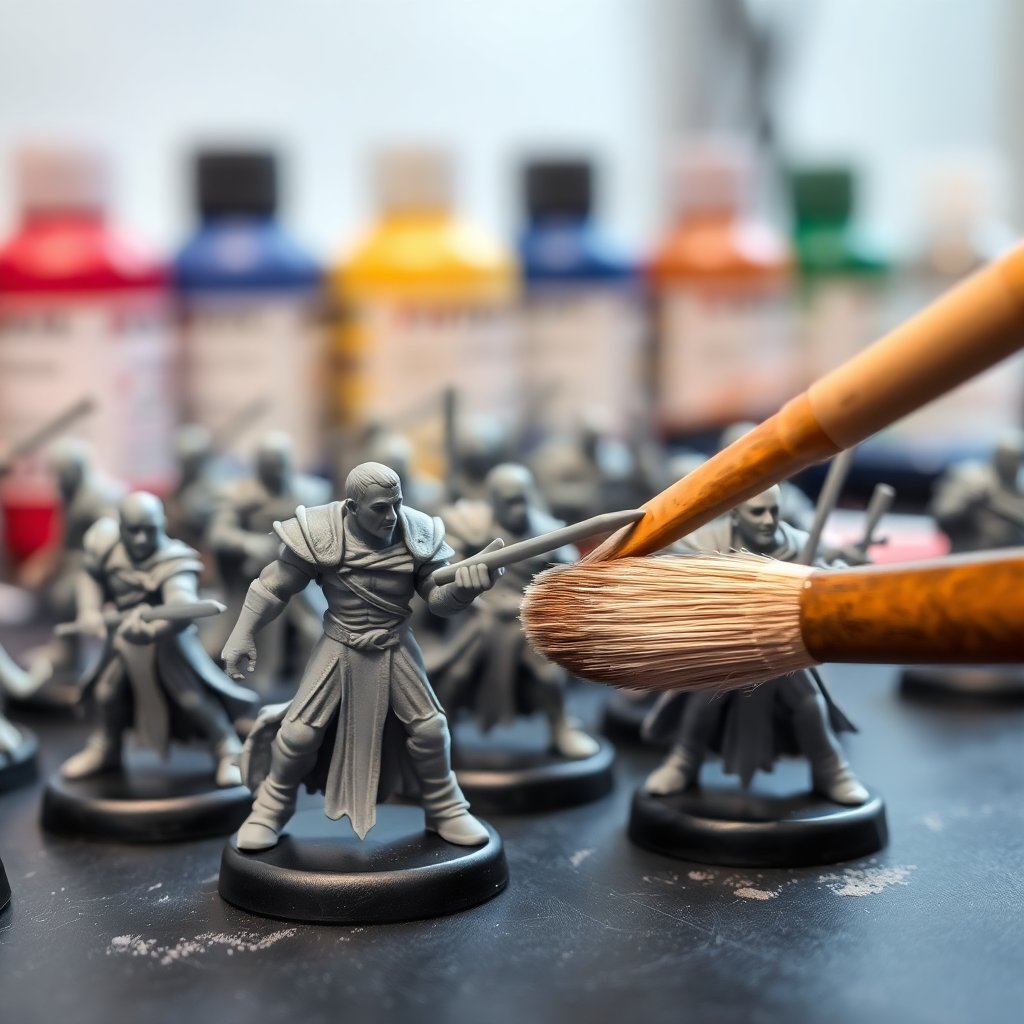
Every hobbyist eventually hits the same wall: a growing pile of grey plastic and a shrinking pile of patience. Slapchop is the answer a lot of painters land on, because it does something almost unfair — it hands you most of the shading work for free, before you ever touch a color. The method builds a black-to-white greyscale map with three quick drybrush passes, then drops translucent contrast paint over the top so the color pools dark in the recesses and stays bright on the raised edges automatically.
The technique was popularized by Rob Symes of The Honest Wargamer, and it caught fire once contrast-style paints became widely available. With fall project season here and a lot of new armies getting assembled for winter, this is the workflow that gets them off the sprue and onto the table without swallowing your whole hobby year. Here is how it actually works.
As an Amazon Associate we earn from qualifying purchases. Prices move constantly, so treat any figure as "around that much — verify at checkout" before you buy.
What Slapchop Actually Is
Strip away the funny name and slapchop is a two-part idea: an underpainting followed by a filter of color. The underpainting is pure greyscale — black in the deep shadows, mid-grey across most surfaces, white on the highest edges and points. That map is where all your contrast comes from. The filter is a single coat of a transparent, self-shading paint that lets the greyscale show through.
The reason it works is optical. A contrast or speedpaint is formulated to flow into recesses and thin out over raised areas in one pass. Lay that over a flat grey model and you get flat color. Lay it over a proper black-grey-white gradient and the same paint reads as a shaded, highlighted surface, because it is tinting a value structure that is already there. You are letting physics do the blending a brush would normally have to fake.
The tradeoff is honest: slapchop will not win a Golden Demon. It is a tabletop-standard method built for speed and volume. A practiced painter can take a 28-to-32mm figure from primer to done in under twenty minutes, which is exactly why it has become the default way to paint big rank-and-file units.
The Materials That Make It Work
The kit is small, and most of it does double duty on other projects.
A grey or black primer is the foundation. Many painters start from a black primer and drybrush up, but a neutral grey primer gives you a head start on the mid-tone and is more forgiving in low light. Either way you want an even, matte, tooth-heavy surface — if you need a refresher on getting adhesion right, our primer guide covers which formulas grip without filling detail. A can of grey miniature primer spray on Amazon is the fastest way to prep a batch.
A large, stiff drybrush is the single most important tool here, and it is not the brush you use for detail work. You want a big, blunt, slightly springy head that spreads a whisper of paint across a wide area. Cheap synthetic drybrushes are meant to be abused, so buy a couple and retire them without guilt. Grab a large drybrush set on Amazon and keep one for grey, one for white. Your good sable brushes stay far away from this step — for how to choose those, see our best brushes guide.
Grey and white acrylics for the drybrush passes. Any solid, opaque hobby grey and white will do; some painters use a dedicated light-grey then pure white for the final catch. Consistency matters more than brand.
Contrast or speedpaint is the color layer, and this is where the magic lands. The Army Painter's Speedpaint 2.0 range, Games Workshop's Contrast line, and Vallejo's Xpress Color are the three big families. A starter contrast paint set on Amazon covers the core colors, and a speedpaint starter set on Amazon gets you the self-shading range in one box. If you want the deeper comparison of how these paints behave, our contrast paints review breaks down flow, staining, and coverage across brands.
The Step-by-Step Workflow
The order is the whole method. Get it right and each step takes seconds.
1. Prime black (or grey). Get a full, even matte coat and let it cure completely. Rushing the cure is the fastest way to ruin everything downstream — drybrushing over tacky primer drags and smears.
2. Drybrush grey — the zenithal pass. Load your large brush, wipe almost all of it off on a paper towel until the brush leaves only a faint dusty mark, then sweep it across the model from above at a downward angle. Hit the raised muscles, edges, and upper surfaces. This is a zenithal (top-down) light map, so keep the deepest recesses dark and let the grey build only where light would naturally fall. Two or three light passes beat one heavy one.
3. Drybrush white — the highlight catch. Same technique, far less paint, aimed only at the very highest points: shoulders, the crown of the head, the top edges of armor plates. This pass should feel almost stingy. Overdo the white and the final color goes chalky and washed out. Restraint here is what separates a crisp result from a foggy one.
4. Filter with contrast or speedpaint. Load a normal brush with a single generous coat and let the paint flow. Do not scrub it in — flood it on and let surface tension carry it into the recesses while it thins over the raised areas. Work one color at a time across the model: armor, cloth, skin, metals. Keep the coat wet and even; going back into a half-dried patch is what causes streaks and tidemarks.
5. Spot-detail and finish. Pick out a few small elements the eye lands on — eyes, gems, blade edges, a rank insignia — with regular paint, then base and varnish. Those two or three focal touches are what sell the whole model as "painted" rather than "dipped." A thinning-medium refresher lives in our paint mediums guide if your contrast is behaving oddly.
Keeping Slapchop From Looking Flat
The common complaint about the method is that results can read as muddy or one-note. Almost every time, the fix is in the greyscale, not the color.
Push the value range. Timid drybrushing gives you a narrow grey band, and narrow values make contrast paint look flat no matter how good the color is. Commit to genuinely dark shadows and genuinely bright white catches. The wider the greyscale gradient, the more depth the color inherits.
Do not flood the recesses with white. White belongs on peaks only. If it creeps into the crevices, you lose the shadow map that makes the whole trick work.
Thin, or double up, deliberately. One coat of contrast is the default, but a second pass in the deepest recesses pushes shadows harder, and a careful edge highlight with regular paint at the end lifts a squad above pure tabletop grade for a couple of extra minutes each.
Vary your colors' opacity. Some contrast paints are near-transparent and lean hard on the underpainting; others carry more pigment and flatten it. Matching a more transparent color to areas with the best greyscale gradient — cloaks, robes, large armor plates — is where slapchop looks its best. The community reference at the Minipainting Wiki is a good place to see side-by-side examples of how different paints filter over the same greyscale.
Batch Painting a Whole Unit
Slapchop earns its reputation on volume, and the workflow is built to batch. Prime every model in one session. Drybrush the entire unit grey in a production line, then white the same way, moving down the row so the brush is always at the right dryness. Only then start the color filter, one paint at a time across all of them.
Working in stages like this means you are never waiting on a single model to dry, and the muscle memory of repeating one motion twenty times makes each pass faster than the last. A full unit that would take a week of conventional layering comes off the desk in an evening or two, and every figure shares the same lighting logic, which is what makes a painted army look like a cohesive force instead of a shelf of one-offs. Empire of Minis has a solid walkthrough with photos if you want to watch the greyscale build up stage by stage before you commit a whole squad.
The Bottom Line
Slapchop is not a shortcut so much as a smarter order of operations. Build the shadows and highlights first in cheap grey and white, then let a single coat of contrast paint borrow all of that work as color. Nail the value range in the drybrush passes, keep the white restrained, flood the color instead of scrubbing it, and add two or three focal details at the end.
Do that and you can field a fully painted army in the time conventional layering takes to finish a single hero — which, for most of us staring at that pile of grey plastic, is the difference between an army that gets played and an army that never leaves the box.
As an Amazon Associate we earn from qualifying purchases. This article contains affiliate links; if you buy through them we may earn a small commission at no additional cost to you.