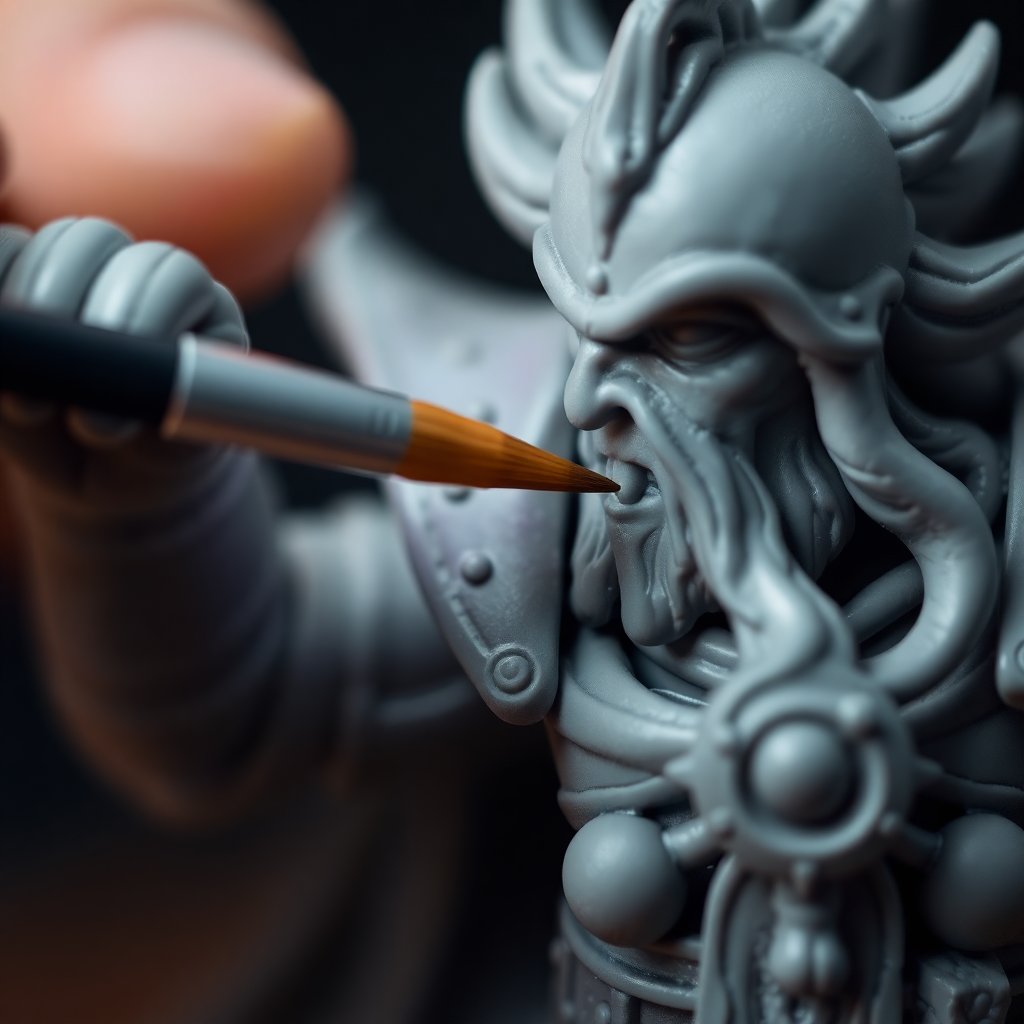
Your miniature looks fine in your hand, but set it on the table under decent light and it reads as a flat blob of color. The armor plates vanish into each other, the sword blade has no sparkle, and the whole model feels muddy. Edge highlighting fixes this faster than almost any other single technique, because it works the way your eye already expects light to behave: the sharpest, brightest line sits exactly where a raised corner catches the strongest light.
What Edge Highlighting Actually Does
Edge highlighting means painting a thin, lighter line along the raised edges of a model, the corners and ridges that would physically catch light from above. It is pure value contrast. You are telling the viewer's brain where the geometry rises and falls, and the brain reads that contrast as sharpness, depth, and form.
The reason it punches so far above its effort is that human vision keys heavily on edges and value differences to interpret three-dimensional shape. Light and shadow define a surface more than color does, which is why a grayscale photo of a sculpture still reads as solid form. For a deeper look at how light and shadow describe volume, the Wikipedia entry on shading covers the underlying principle that edge highlighting exploits directly.
Edge highlighting pairs naturally with a shaded base. If you have already darkened the recesses with a wash or built up your midtones, the bright edge is the final step in the light-to-dark story: shadow in the cracks, color on the flats, light on the corners.
The Three Things That Make or Break It
Most frustration with edge highlighting traces back to three variables. Get these right and the technique becomes almost mechanical.
Paint consistency. Highlight paint should flow off the brush like skim milk, thin enough to form a clean line without clumping, thick enough to still show color in one or two passes. Paint straight from the pot is far too thick and will leave a chunky, rounded ridge instead of a crisp line. Thin with water or a thin medium a little at a time on a → Shop wet palette for miniature painting on Amazon, which keeps the mix at a stable consistency for the whole session instead of drying out between strokes.
Brush condition. You need a brush that holds a sharp point and carries a little paint without flooding. A worn brush with a splayed or hooked tip will fight you on every stroke. A size 1 or size 0 with a crisp point does most edge work; very fine details may want a smaller tip. A good → Shop fine detail miniature paint brush set on Amazon gives you a range of points to match the scale of the edge. If your brushes have lost their shape, our guide to the best brushes for miniature painting in 2026 walks through what to look for in a replacement.
Hand control. Edge highlighting rewards a braced, steady hand more than a naturally gifted one. Rest the heel of your painting hand against your other hand or the edge of your work surface, and move the model into the brush as much as you move the brush across the model. Short, confident strokes beat long, tentative drags every time.
Choosing Your Highlight Color
The safest starting point is a lighter version of your base color. If a plate is painted mid-blue, mix or pick a lighter blue, not white, for the first highlight. White added straight to a color desaturates it and can turn a rich tone chalky and gray.
For a one-step highlight, go up two or three values from the base, enough to read clearly at arm's length without looking like a stripe of a different color. A brighter paint set with good coverage makes this easier, since highlight colors often sit at the pale, thin end of a range where pigment load matters most. If you are still building your palette, the best beginner miniature paints of 2026 covers ranges that layer cleanly. You can grab lighter tones directly from a → Shop miniature paint set with bright colors on Amazon rather than mixing every highlight by hand.
For a more refined finish, add a second, finer highlight that is lighter still, applied only to the sharpest points and corners, the very tip of a blade, the apex of a shoulder plate, the front edge of a knuckle. This narrower second line is where the "pop" lives. Two tiers of highlight read as far more deliberate than one heavy pass.
Step-by-Step: Your First Clean Edge Highlight
Work through this on a model you have already basecoated and shaded.
1. Load the brush correctly. Dip into the thinned paint, then wipe most of it off on a paper towel or the edge of your palette until the brush is barely damp with color. A loaded, dripping brush floods the edge and ruins the line. You want the paint to live near the tip, not pooled in the belly of the bristles.
2. Find your light direction. Decide where your imaginary light sits, usually above and slightly in front. Highlight the edges that face that light most directly, and go lighter and brighter on the uppermost surfaces. Consistency of light direction is what separates a painted model from a random scattering of bright lines.
3. Lay the brush flat and drag along the edge. Instead of stabbing at the corner with the point, lay the side of the tip almost parallel to the edge and draw it along the ridge. The raised geometry catches the paint while the recess stays untouched. This "side-loading" drag gives a thinner, more even line than poking with the very tip.
4. Keep strokes short. Break a long edge into two or three short strokes rather than one nervous sweep. Reload and re-point the brush between strokes if the line starts to thin out or skip.
5. Clean up with the base color. Mistakes are normal. If a highlight slips off the edge onto a flat, let it dry and tidy the line by cutting back in with your original base color. Correcting with the darker base is often faster than trying to repaint the highlight perfectly the first time.
Good light at your workstation makes all of this dramatically easier, since you cannot highlight an edge you cannot clearly see. A bright, color-accurate → Shop LED hobby desk lamp on Amazon with a daylight temperature will show you exactly where the line is landing.
Common Mistakes and How to Fix Them
The line is too thick. Your paint is probably too thick, your brush too large, or you are using the point instead of dragging the side. Thin the paint more and switch to dragging.
The highlight disappears at arm's length. Not enough value contrast. Go lighter, or add a second, brighter tier on the sharpest points. A highlight that looks slightly too bright up close often reads as just right at viewing distance.
The color looks chalky or washed out. You likely added white. Mix with a lighter shade of the base hue, or a warm off-white for warm colors and a cooler tint for cool colors, rather than pure white.
The line is patchy or skips. The paint is drying on the brush, the mix is too thin, or the brush has lost its point. Reload more often, nudge the consistency thicker, and re-point the tip on your palette before each stroke.
Where Edge Highlighting Fits in Your Workflow
Edge highlighting is almost always one of the last steps, after basecoats, shading, and any midtone layering. It is the counterpart to recess shading: the wash darkens the cracks, the highlight brightens the ridges, and the midtone holds the middle. Together they create a full range of value across each surface.
It also plays well with faster approaches. If you use a zenithal undercoat and contrast-style paints, as covered in our slapchop painting technique guide, a few targeted edge highlights at the end can lift an otherwise quick paint job into something that looks genuinely hand-painted. You do not need to highlight every edge on the model, either. Hitting the edges closest to the viewer and the ones that frame the most interesting details gives most of the visual payoff for a fraction of the time.
Start on a single test model and highlight one armor plate at a time. The skill builds fast because the feedback is immediate: the moment a clean bright line lands on a corner, the surface jumps forward, and you will want to do it on everything.
Affiliate disclosure: some links above are Amazon affiliate links, and purchases made through them may earn this site a small commission at no extra cost to you. Recommendations are based on technique needs, not commissions.
As an Amazon Associate we earn from qualifying purchases. This article contains affiliate links; if you buy through them we may earn a small commission at no additional cost to you.