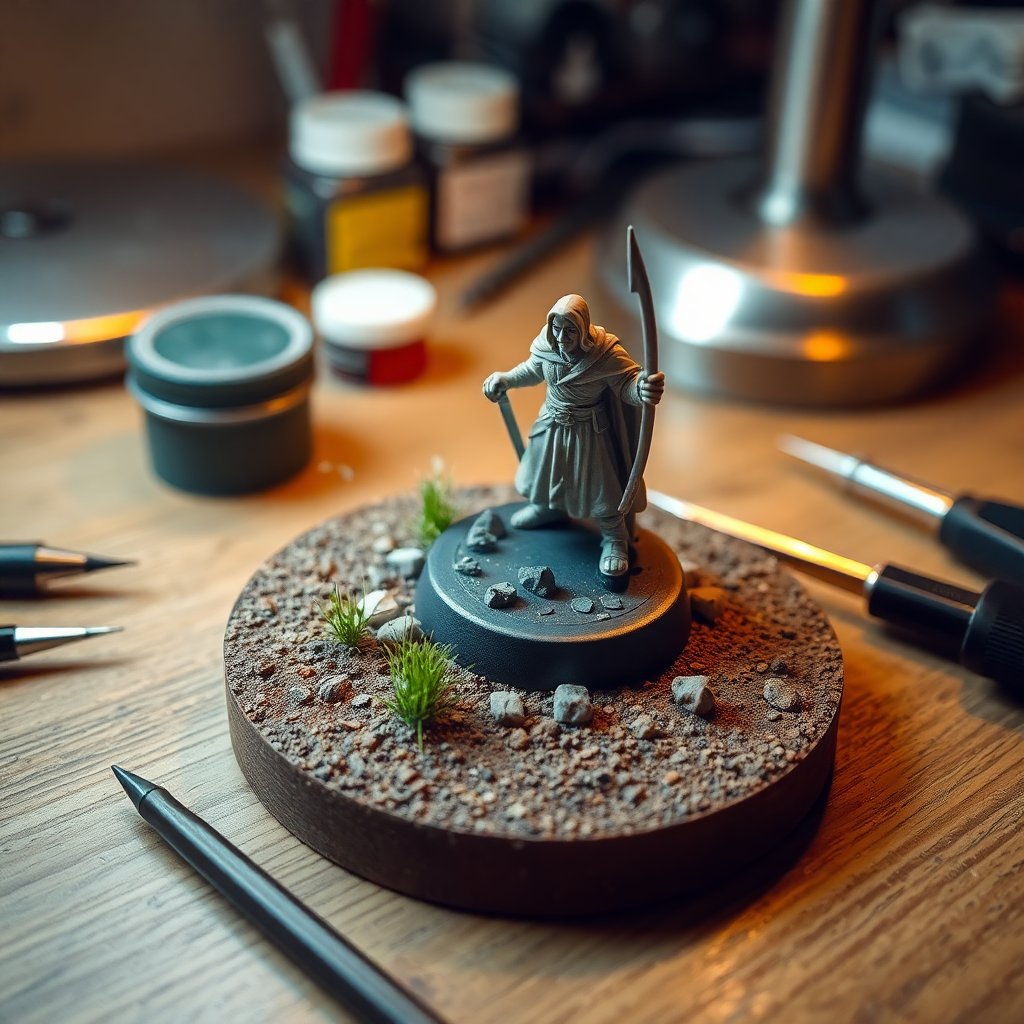
The base is the last thing you paint and the first thing everyone judges. You can spend a week blending armor and cutting crisp edge highlights, but if the model is standing on a slab of bare grey plastic, the eye reads it as unfinished. A good base does the opposite: it grounds the figure in a place, adds a splash of contrasting color low on the model, and quietly tells you this hobbyist cared about the whole thing, not just the parts that were fun to paint.
Basing has a reputation for being fiddly, and it can be — but the core workflow is simple and repeatable once you own a handful of materials and follow them in the right order. With fall settling in and a lot of new armies getting assembled for winter painting projects, now is a good time to lock down a basing routine you can run on a whole unit without thinking. Here is how to do it.
As an Amazon Associate we earn from qualifying purchases. Prices move constantly, so treat any figure as "around that much — verify at checkout" before you buy.
Decide the Base Before You Paint the Model
The most common basing mistake is treating it as an afterthought. Plan the base first, because it changes decisions everywhere else. A snowy base wants cool shadows on the model; a scorched wasteland wants warmer tones. If the ground is going to be busy — rubble, tufts, a broken column — you will want the miniature's lower edges kept clean so the two do not fight for attention.
Pick a theme that matches the army's story and, ideally, one you can repeat across dozens of models without losing your mind. Grassland, urban rubble, desert, and snow are the four workhorses because they use cheap, forgiving materials and forgive uneven application. Do a single test base before committing a unit — it takes twenty minutes and saves you from redoing forty models because the grass color clashed.
The Core Basing Materials Worth Owning
You do not need a shelf of specialty products to start. A small, well-chosen kit covers almost every theme.
Texture paste is the fastest way to get an even, natural-looking ground. It goes on with a spatula or old brush, dries to a hard grit, and takes drybrushing beautifully. Games Workshop's technical texture range and Vallejo's earth textures are the popular picks, but any acrylic modeling paste with grit works. A starter set of a few earth and stone shades will handle most ground you will ever build — grab a miniature texture paste set on Amazon and you can skip mixing your own.
Sand and grit are the budget classic. Cheap play sand, sieved into fine and coarse grades, glued down with PVA, gives you total control over how rough the ground reads. Mix grades for a more natural look — all-one-size sand looks artificial.
Cork — wine corks or cork tile offcuts — snaps into convincing rock and rubble. Tear it rather than cut it for a natural broken edge, glue the chunks down, and fill the gaps with sand or paste. A pack of cork tiles for basing on Amazon lasts through a whole army and costs less than two pots of texture paste.
Static grass, tufts, and flock are the finishing greenery. Loose static grass needs an applicator to stand it up; pre-made tufts are the shortcut — you just glue them where you want them. A single static grass and tufts set on Amazon in a few colors covers grassland, autumn, and dead-scrub looks in one box.
PVA glue (white glue) is the workhorse adhesive for sand, grass, and flock. Thin it slightly with water so it brushes on smoothly and dries clear. Super glue is for cork and heavier resin bits.
The Step-by-Step Order
Getting the sequence right is most of the battle. Do it out of order and you will trap grit under paint or knock tufts off with a clumsy brush.
1. Build the ground. Whether you are using paste, sand, or cork, get all your terrain down first and let it fully cure — overnight for thick paste. If you are gluing down sand, brush thinned PVA over the base, dip it into the sand, and tap off the excess. Keep material off the rim if you plan to paint the edge a clean color later.
2. Prime it with the model. Base texture needs primer just like the miniature does, so prime them together. A grit surface drinks paint, and unprimed paste can flake. If you want a refresher on getting adhesion right, our primer guide covers which formulas grip texture without filling detail.
3. Basecoat and drybrush. Block in a dark base color over the ground, then drybrush one or two progressively lighter shades to catch the raised grit. This is where texture pays off — a couple of quick drybrush passes turn a flat brown surface into believable dirt and stone in under a minute per model. A wash in the recesses first deepens the shadows before you drybrush back up.
4. Add the greenery and details last. Glue tufts, static grass, small stones, and any resin bits after the ground is painted, so their colors sit on top instead of getting buried. Place tufts off-center and in odd numbers — clustered near a foot or a rock, never dead center. Restraint reads as intentional; a base carpeted evenly in grass reads as a craft-store diorama.
5. Paint the rim. Finish with a clean, solid color on the base edge — matte black or a dark brown are the standards. This one step does more for a "finished" look than almost anything else, framing the model like a border around a photo.
Matching the Base to the Model
A base should echo the model, not compete with it. If the ground work is heavy, keep the greenery sparse. If the model is busy and colorful, let the base stay quiet and earthy so it grounds rather than distracts.
Weathering is where basing and the model meet. The mud on a base should climb onto the boots; the dust drybrushed on the ground should ghost up the model's lower legs. Tying the two together with a shared color is what makes a figure look like it is actually standing in the scene rather than pasted on top of it. Our weathering guide walks through the streaking and pigment techniques that bridge that gap, and the same restraint rule applies: less than you think you need.
Green Stuff World's basing tutorial is a good visual reference if you want to see the sequence built up step by step with photos — it reinforces the same principle of planning the scheme before you touch glue.
Special Effects: Snow, Water, and Weathered Ground
Once the fundamentals are solid, a few effects add serious impact for little effort.
Snow is the easiest showstopper, which is why it is everywhere from November onward. Commercial snow flock mixed with a little PVA or a matte-to-gloss medium spreads like real drift and catches light convincingly. Pile it in the lee of rocks and boots where snow would actually settle, not in an even blanket.
Water and mud effects come from acrylic gels and gloss mediums, tinted and pooled into low spots. A glossy puddle in a wheel rut or a muddy footprint reads instantly. If you are sealing a base with water effects or a heavy gloss, think about the final varnish — a mismatched sheen can ruin the illusion, and our varnish guide breaks down matching matte and gloss finishes so the wet spots stay wet-looking and the dirt stays dead flat.
Cracked earth for deserts and volcanic scenes comes from crackle paste — a thick medium that splits as it dries. Lay it on, let it crack naturally, then drybrush the raised edges. The Army Painter's basing tips are a solid free reference for pairing these effects with the right paints.
Batch Basing a Whole Unit
For armies, speed matters more than any single showpiece. The trick is to work in stages across the whole unit rather than finishing one model at a time. Glue and texture every base in one session. Prime them all together. Drybrush the lot in a production line — dark, mid, highlight — moving down the row so the brush is always at the right dryness. Then do a single pass of tufts across all of them at the end.
Batching this way turns basing from a chore you dread into fifteen focused minutes at the end of a project. The consistency it produces — every model on the same ground, framed by the same rim color — is exactly what makes a painted army look like a cohesive force instead of a pile of individual figures.
The Bottom Line
A base does not need to be a diorama to lift a model. Get the ground down, prime it with the figure, drybrush it to life, add a few well-placed tufts, and paint the rim clean — that five-step loop covers ninety percent of what you will ever base, and it scales from a single hero to a hundred-model army. Start with texture paste or sand, a bag of tufts, and a bottle of PVA, nail one theme you can repeat, and every model that leaves your desk will look finished from the boots down.
Plan the base before you paint, tie it to the model with a shared color, and stop while it still looks intentional. That is the whole craft.
As an Amazon Associate we earn from qualifying purchases. This article contains affiliate links; if you buy through them we may earn a small commission at no additional cost to you.