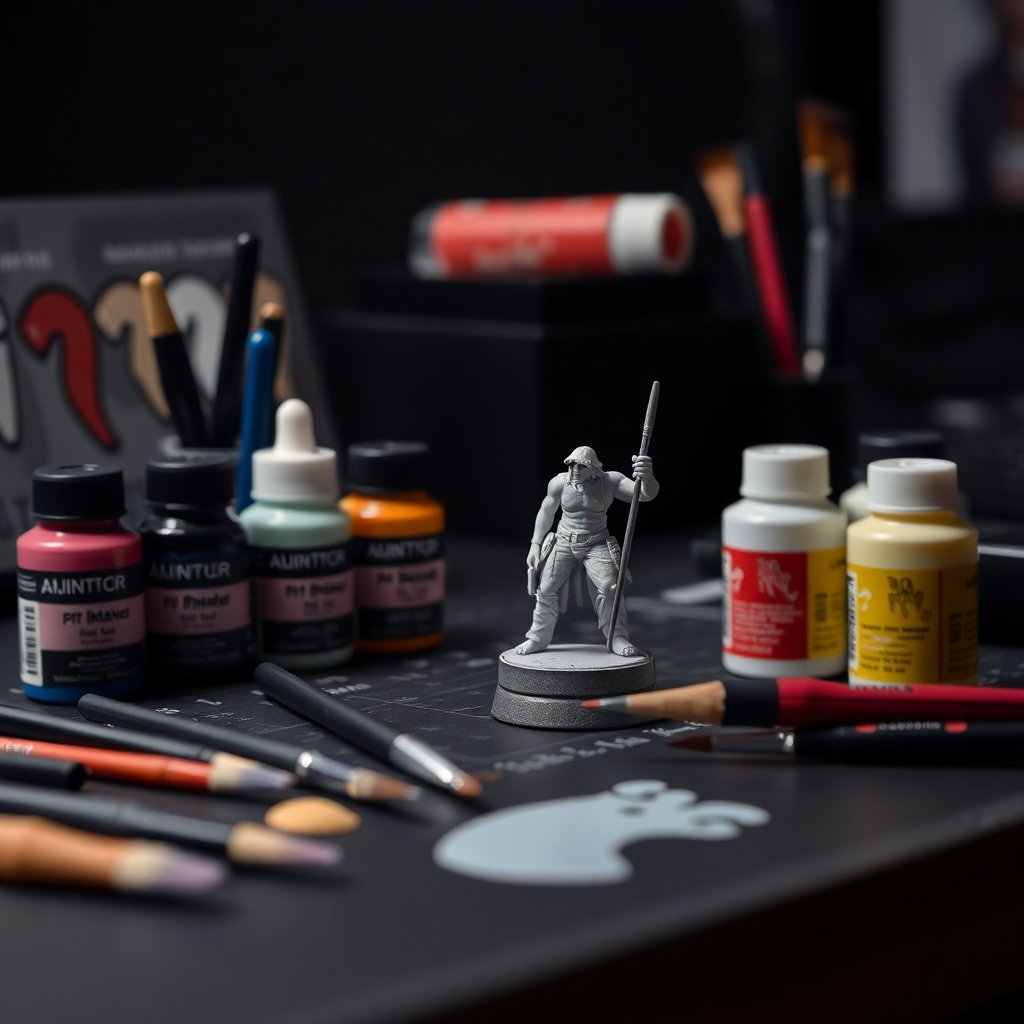
Weathering is the step that turns a clean, freshly painted model into something that looks like it has actually fought. A knight straight off the paint station reads as a toy; the same knight with chipped armor edges, a whisper of rust around the rivets, and dust caked into the boots reads as a survivor. That storytelling is the whole appeal — and it is also where a lot of painters overshoot, drowning a good paint job in brown until the model looks dirty rather than battle-hardened.
With a fresh wave of armies hitting tables this fall — the Kill Team: Exodite box put dinosaur-riding Aeldari and grimy Beast Snagga Orks in front of a lot of new brushes on August 8 — weathering is exactly the skill that separates a tabletop-ready squad from a memorable one. Here is how to do it in a controlled, repeatable way, with the specific products worth owning and the restraint that keeps it convincing.
As an Amazon Associate we earn from qualifying purchases. Prices move constantly, so treat any figure as "around that much — verify at checkout" before you buy.
Weather From the Story, Not the Bottle
The single most useful habit in weathering is to ask why the wear is there before you make a mark. Paint chips off the parts that scrape against things — armor edges, corners, the bottom of a cloak, the muzzle of a weapon. Rust blooms where water sits and metal is exposed: bolt heads, recessed seams, the low points that never dry out. Mud climbs up from the ground, heaviest on boots and the underside of a hull, fading as it goes higher. Streaks run straight down with gravity when a model is standing still.
Follow that logic and even a modest effort looks intentional. Ignore it — sponge chips scattered evenly across a whole model, rust in places rain never touches — and the eye immediately reads it as noise. The Army Painter's own guide to weathering techniques makes the same point plainly: the goal is not to make a miniature look dirty, it is to add a layer of realism and story. Every technique below is just a tool for telling that story in the right spot.
Sponge Chipping: The Highest-Impact Technique
If you learn one weathering method, make it sponge chipping. It delivers the most convincing "used" look for the least effort, and it works on almost any painted surface.
The method. Tear a small piece off a coarse foam sponge — the kind that comes packed in blister packs is perfect, or use a torn bit of kitchen sponge. Dip a corner into a dark brown (Rhinox Hide, Oak Brown, or any near-black brown), then wipe almost all of it off on a paper towel. You want the sponge nearly dry. Lightly stipple the edges, corners, and high-wear areas — a few taps, not a smear. The random, broken pattern of the foam is what makes the chips look organic in a way you could never freehand.
Add depth with a two-tone chip. For metal and armor, go back into the larger dark chips with a tiny dot of bright silver placed slightly off-center inside the brown. That reads as bare metal exposed under scraped paint, and it is the trick that pushes chipping from "fine" to "why does that look so real." Keep the silver sparse — one or two per panel, not inside every chip.
The restraint rule matters most here: chip less than you think you should. Do one pass, walk away, come back, and only then add more if it needs it. A good set of stiff, cheap brushes is worth keeping alongside your sponge for placing individual chips by hand — grab an inexpensive detail paint brush set on Amazon and dedicate the roughest one to weathering so you are not chewing up your good brushes on abrasive stippling.
Rust: Layered, Not Slathered
Rust is the effect people most often overdo. Real rust is subtle at miniature scale — a stain around a rivet, a streak below a hinge — not an orange coating.
Start dark and build up. Work from a dark brown or reddish-brown base in the recesses and around fasteners, then stipple progressively lighter, more orange tones on top with a torn sponge or an old stippling brush. Varying the paint's consistency — some thin and streaky, some drier and grainy — gives you the uneven oxidation gradient that makes rust believable. A texture medium like a corrosion paint underneath adds real grit for heavier rust.
The rust wash shortcut. For a fast, controlled effect, thin a rust-colored effects paint with wash medium and let it flow into seams and low points, exactly as you would a shade. That "rust wash" settles where water would actually pool, doing the placement work for you. Dedicated rust effect paints are the cleanest way to get there — a set of weathering effects paints on Amazon covers rust, grime, and streaking in one kit and saves you mixing custom oranges. If you want to understand the mediums that make washes and effects flow the way they do, our guide to painting mediums breaks down what each one actually does.
Streaking and Grime: Let Gravity Do the Work
Streaks are the dirt-and-rust runners that trail downward from a fixed point — under a rivet, below a vent, off the edge of a plate. They are what make a static model look like it has sat out in weather.
Keep it vertical and thin. Use a heavily diluted dark wash or a streaking effects paint. Place a small dot at the top of the run, then pull it straight down with a slightly damp brush so it fades as it descends. Think about where the model is stationary — streaks always run true to gravity, so a tilted panel gets a tilted streak. A few well-placed runners read as far more realistic than a model covered in them.
Grime in the recesses. A targeted dark wash pooled into panel lines, around bolts, and in deep folds adds a layer of accumulated filth that ties everything together. This is where a good all-round shade earns its keep. If you are still building out your wash and contrast shelf, our contrast paints review covers which shades pull double duty as both base-coat shaders and grime for weathering.
Mud, Dust, and Pigments for the Base and Boots
Ground effects sell the illusion that a model exists in a place. Mud is heaviest at the feet and fades as it rises, so concentrate it on boots, the lower legs, and the underside of any vehicle.
Texture, then color. Apply a texture or mud medium to the base and lower legs, then wash and drybrush earthy tones over it once dry. Weathering pigments — fine, chalky powders — take dust and dried mud to the next level: brush them on dry for a matte, powdery finish, or fix them with a pigment binder or a little medium for caked-on clumps. Pigments are cheap for how much mileage they add; a small weathering pigment powder set on Amazon will outlast dozens of models. Match the pigment color to the base you have already painted so the model and its scenery read as the same environment.
Sealing and Order of Operations
A few sequencing rules keep weathering from going wrong.
Weather over a sealed model when you can. Laying weathering on top of a matte varnish coat gives pigments and washes something to grip, and it means a mistake wipes off before it ruins the paint underneath. A final varnish afterward locks pigments in place and unifies the different sheens — matte rust next to satin metal next to glossy grime — into one coherent finish.
Go in this order: finish the base paint job, then chipping, then rust, then streaking, then mud and pigments last at the bottom. Working top-down and light-to-heavy means each layer sits believably over the one before it. And the golden rule threaded through every step — do less, then assess. You can always add another chip or another streak; pulling weathering back off a model is far harder.
Start Small and Build the Habit
Weathering is one of those skills that looks intimidating and turns out to be forgiving. Pick a single test model — a cheap trooper or a spare from a starter box — and try just sponge chipping on it. Once that clicks, add a rust wash on the next one, streaking on the one after. Within a few models you will have a repeatable routine that adds character to a whole army without adding much time per figure.
The armies landing this season are practically built for it: grimy orks, battered war machines, and beasts that have clearly been through something all beg for a little honest wear. Keep the story in mind, keep the sponge nearly dry, and stop a beat before you think you are done — verify current prices on any products before you buy, and you will have a shelf of veterans instead of a shelf of toys.
As an Amazon Associate we earn from qualifying purchases. This article contains affiliate links; if you buy through them we may earn a small commission at no additional cost to you.